About
Syncfusion
Loosely following these instructions from Syncfusion, add Syncfusion.Blazor NuGet Package.
NuGet
Right click the Client project and Manage NuGet Packages…
Search for Syncfusion.Blazor and Install.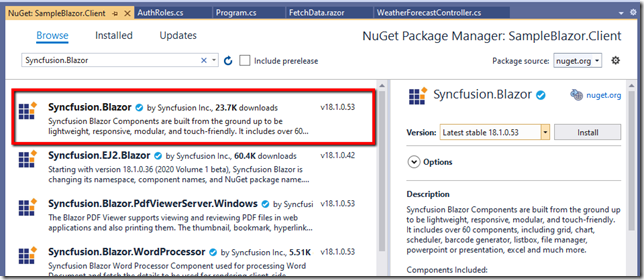
Register
Add the using statement to _Imports.razor.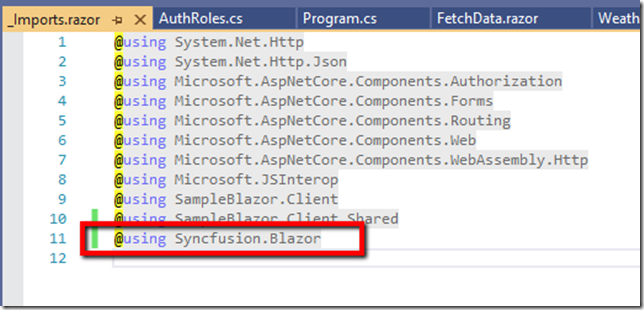
NOTE: if you’re using the Syncfusion controls on lots of pages then add more to the generic imports file here. For example “@using Syncfusion.Blazor.Grids” and “@using Syncfusion.Blazor.Calendars”
Register the Syncfusion Blazor Service in Program.cs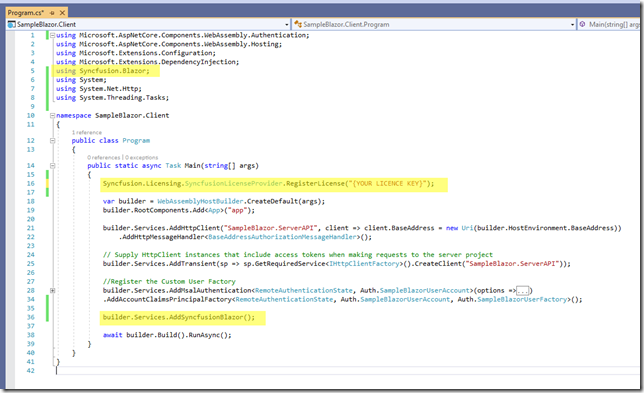
Theme
Add the bootstrap4.css theme in wwwroot/index.html
NOTE: for other themes see this or the Theme Studio from Syncfusion.
Grid
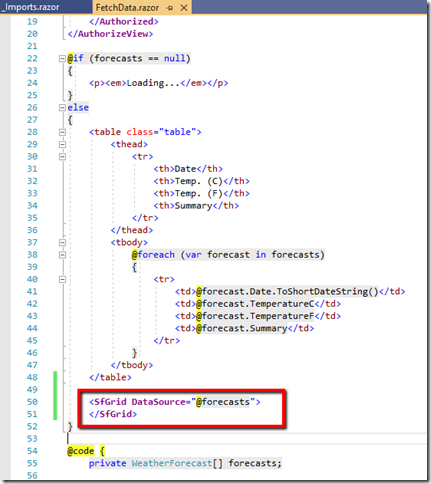
Add a Syncfusion grid to show forecasts underneath the existing one in FetchData.razor
Add the using statement at the top of Pages/FetchData.razor. Alternatively add it to _Imports.razor for a global setting.
@using Syncfusion.Blazor.GridsRun the app and navigate to Fetch Data. The Syncfusion grid will be displayed underneath the original.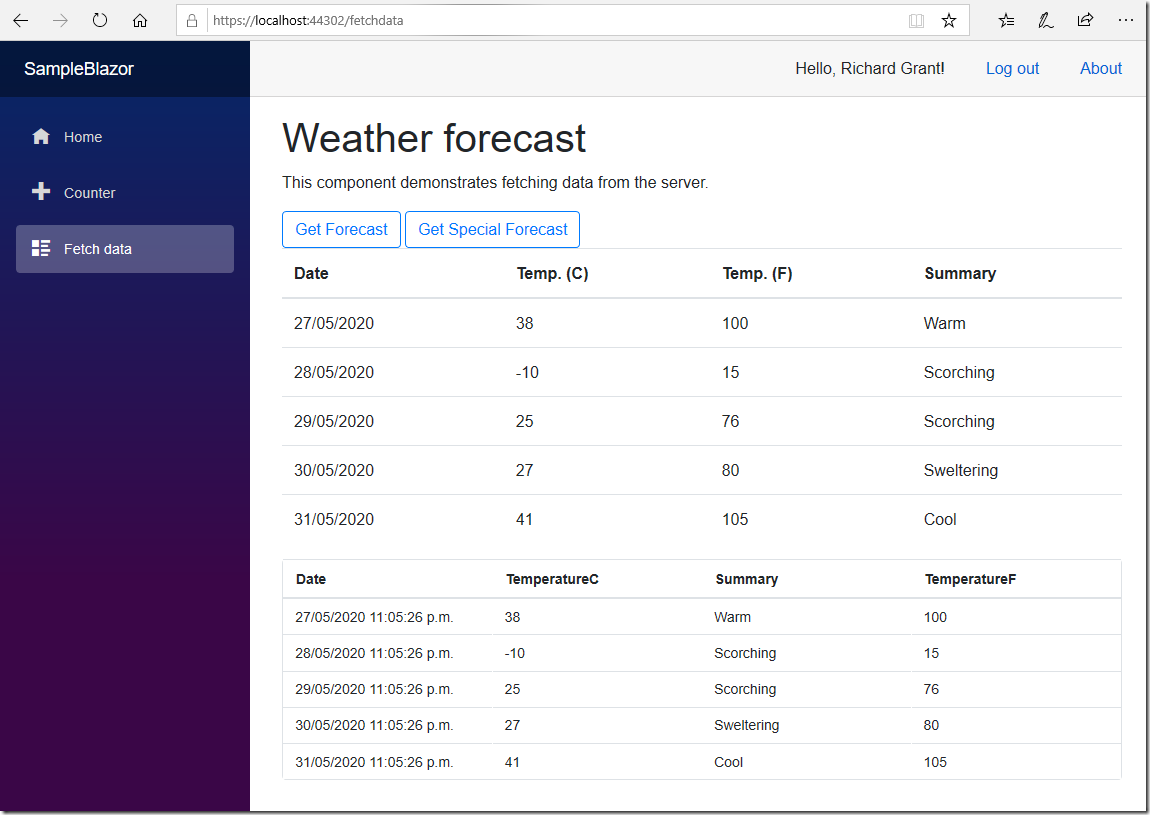
This auto generates the columns based on the datasource.
Data Annotations
In the Shared projects reference the System.ComponentModel.Annotations package.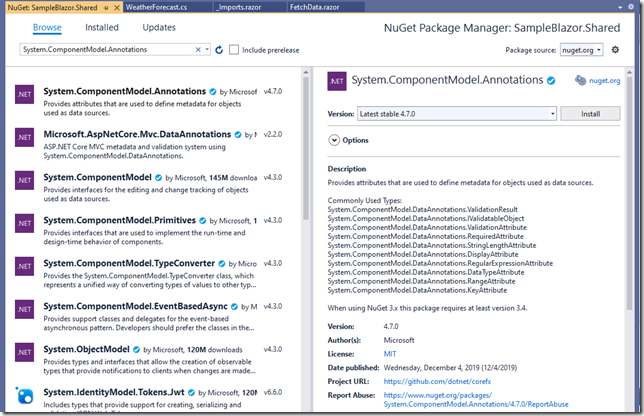
Refer to this page for more info.
Decorate the WeatherForecast class as follows: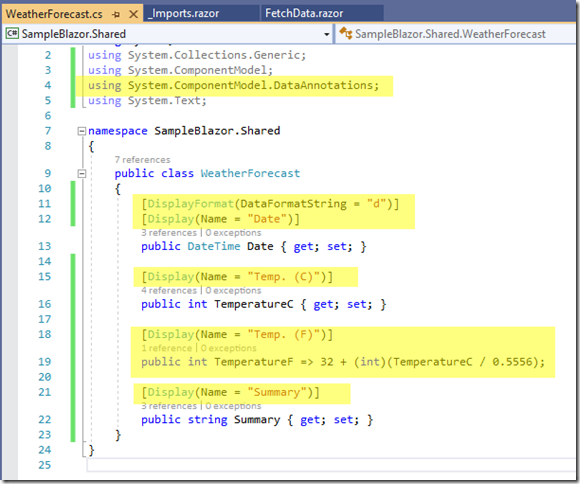
NOTE: move the TemperatureF property so that it’s the 3 prop. (Display(Order = x) doesn’t work)
The finished result should look like this.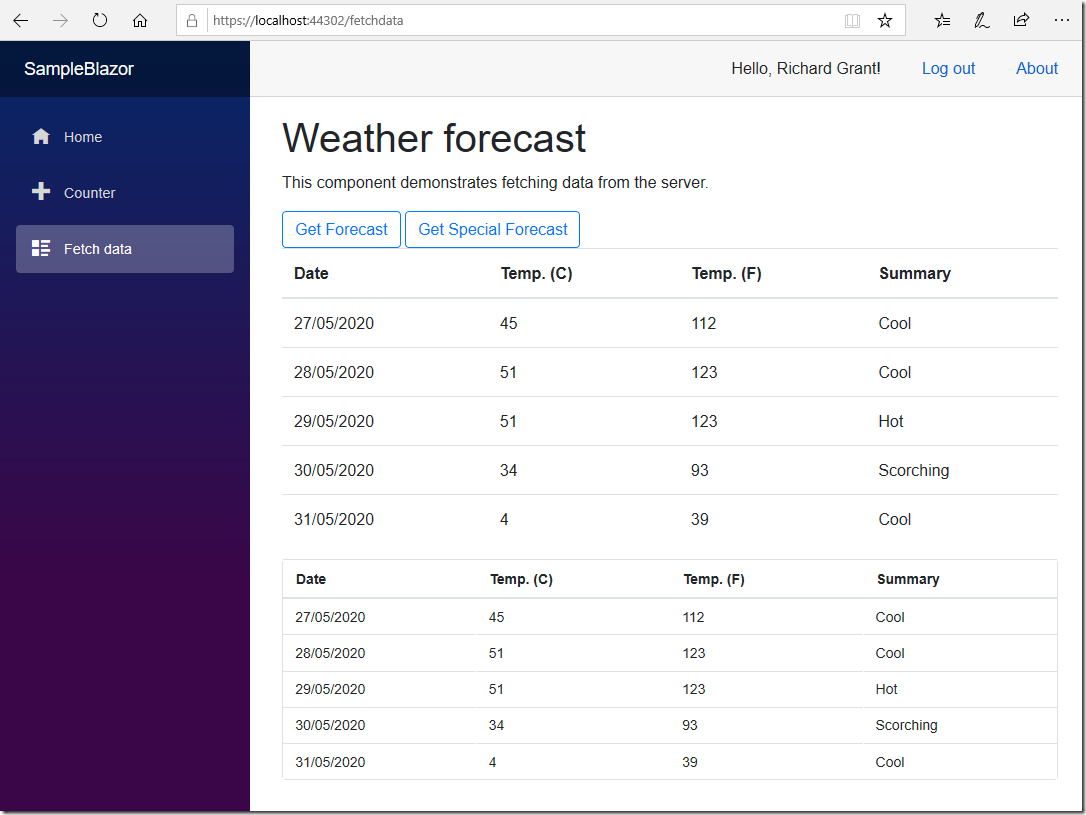
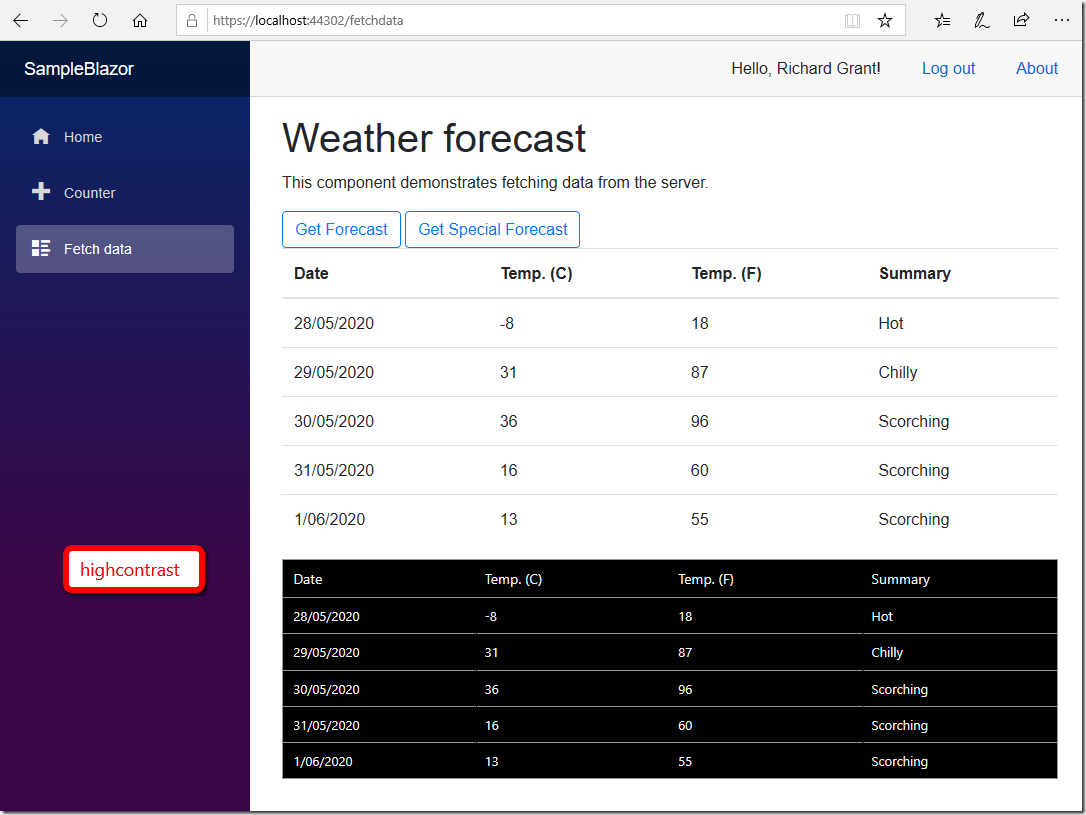
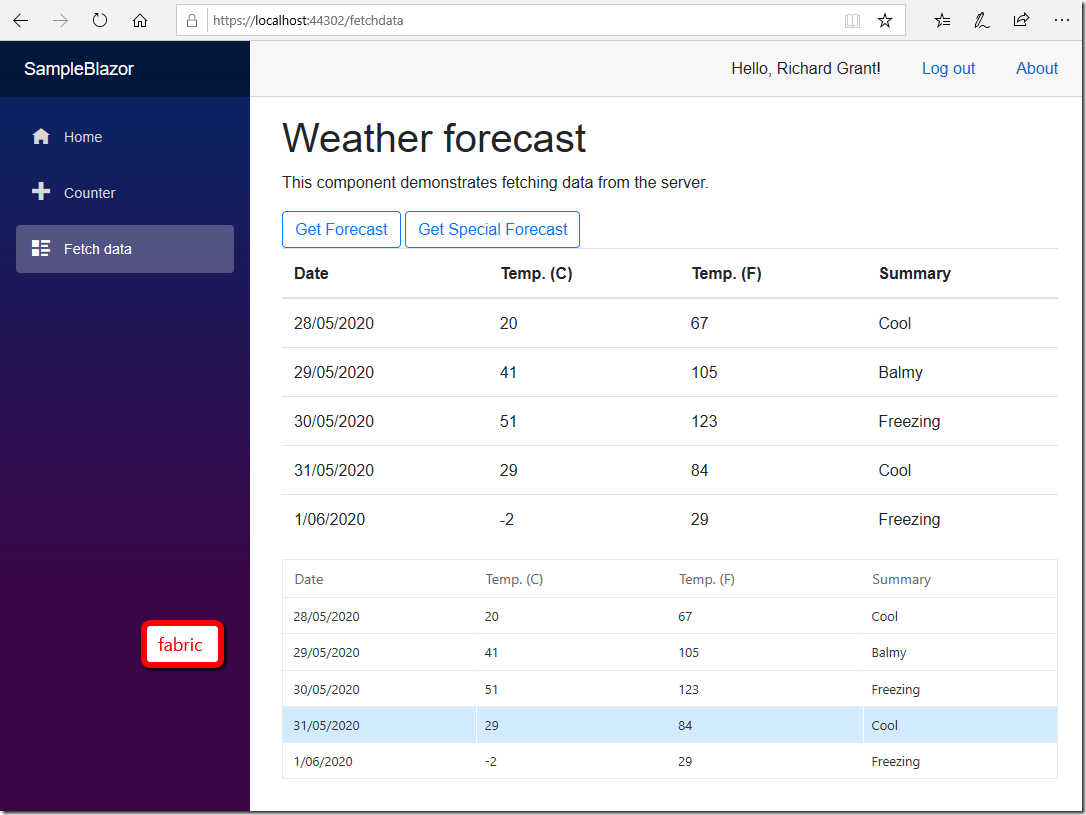
Try the other built in themes (highcontrast, material, material-dark, fabric, fabric-dark, bootstrap, bootstrap-dark). Tip just replace the stylesheet referenced in wwwroot/index.html with any of the themes and refresh the page (Ctrl+F5) without restarting the app.
